Many country and state governments mandate that all attendees, including staff, check in to the relevant government contact tracing app at each workplace. That has typically meant workplaces had to display two QR code sign-in posters: Wrkplace’s QR code and the Government’s.
You can now direct all attendees to your country/state government’s check-in app via as new button displayed on attendee devices upon successful sign in.
This provides a seamless sign in experience, complies with government directions and eliminates the need to display two QR check in codes. You will only need one QR code sign-in poster: Wrkplace’s.
There are a few steps involved to achieve this seamless check in.
- Email us your government’s check in poster for your location(s).
- We will decode the QR code on that poster and record the redirection link required, and email that to you.
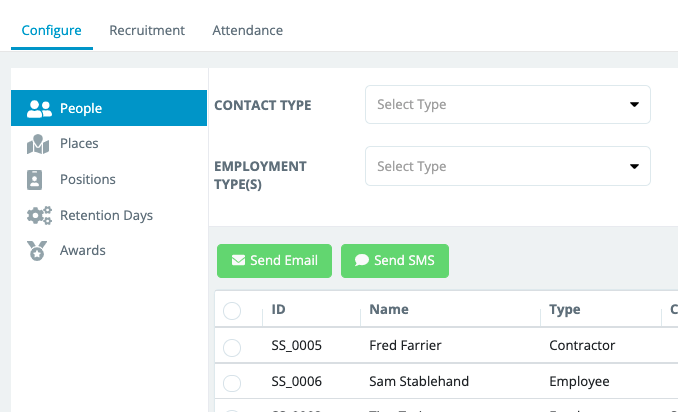
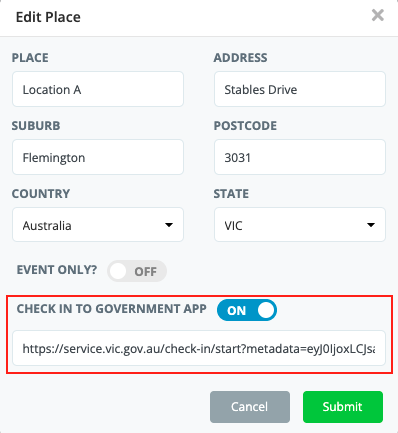
- Navigate to Configure > Places and edit each Place for which you wish to redirect attendees to the government app.
- Click the option “CHECK IN TO GOVERNMENT APP” to ON
- Paste the location-specific redirection link we provide you.
On the Sign In Confirmation screen a new button will appear, “COMPLETE YOUR CHECK IN”.
Attendees should be encouraged to click this to open the Government app.
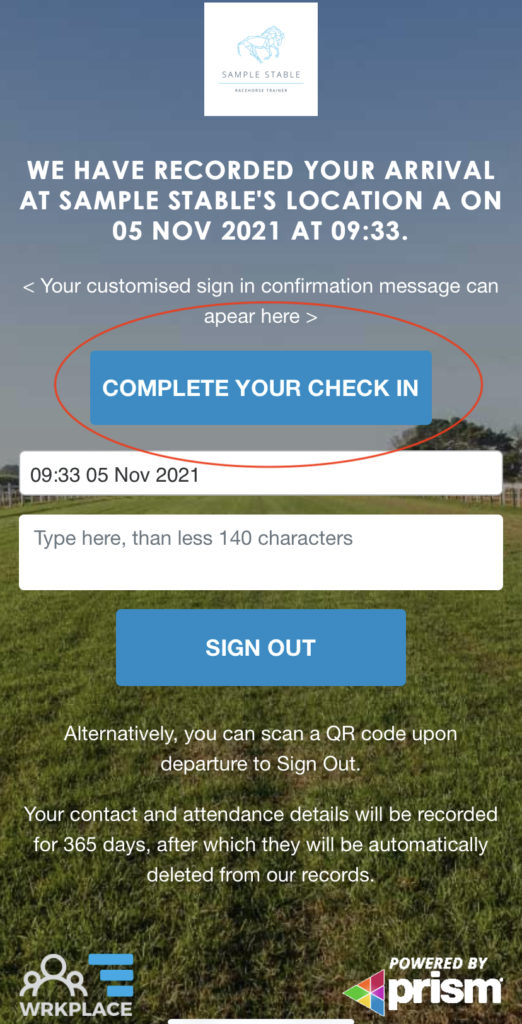
Note that we cannot automate the opening of the Government app for legal reasons. We do require the attendee to click the button, so education is important.
Likewise, we cannot force the closure of the government app and return to the Wrkplace sign in confirmation screen, as the display of vaccination certificates in the government app is important.
Nevertheless, the attendee can always return to their browser on their device. The button turns green and displays “CHECK IN COMPLETED”.
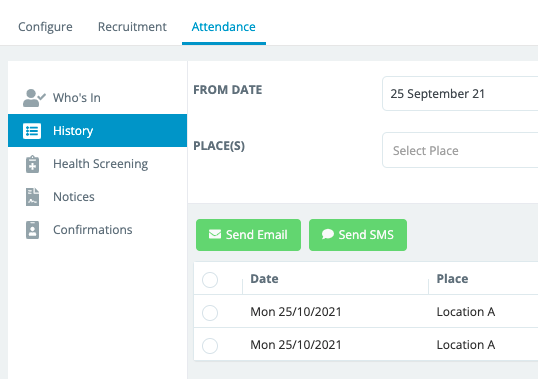
All of this means you can more confidently implement Wrkplace Attendance for each of your workplaces to:
- Health screen each attendee and (optionally) record temperature;
- Display Safety Notices and/or Policies on attendee devices for mandatory acceptance;
- Display Sign In and/or Sign Out messages to share important information or links to your website;
- Record timesheets for faster payroll processing;
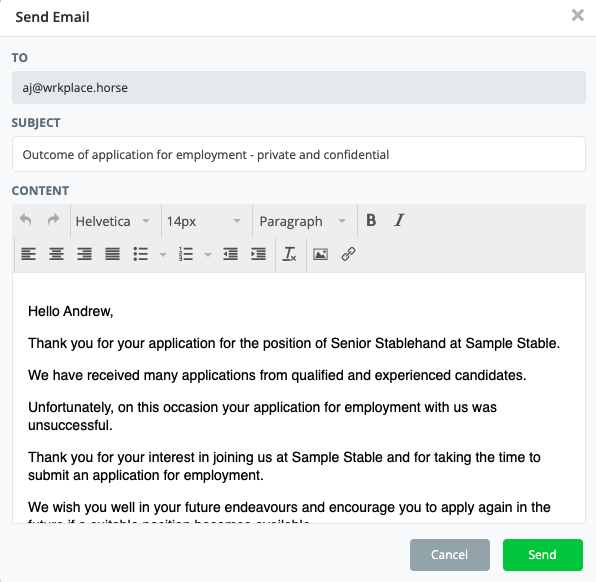
- Communicate with each attendee via email and/or SMS; and
- Comply with government workplace attendance directions.