You can review each job application directly in the Wrkplace HR module, and rate and manage each application.
You can also semi-automate an email notification to the applicant upon starting to review their application, or upon recording the applicant as being unsuccessful for the role. More automations will be available soon.
Here’s how to review, rate and manage each application.
Navigate to Recruitment > Applicants
Apply filters if necessary
Click on the View Application action icon for any application
Review applicant details, applicant’s message and any CV or cover letter submitted
If the applicant has emailed a CV or Cover letter separately, upload those files
Update the Application Stage from New (default) to: Review > Interview > Shortlist > References. Or you can record an applicant as being Unsuccessful in their application.
Record an Application Rating, representing their suitability for the role they have applied for.
When updating the Application Stage to Review, you can easily notify the applicant that you have received their application and are currently reviewing.
This is a pre-drafted email template which you can modify if you wish, prior to send the email.
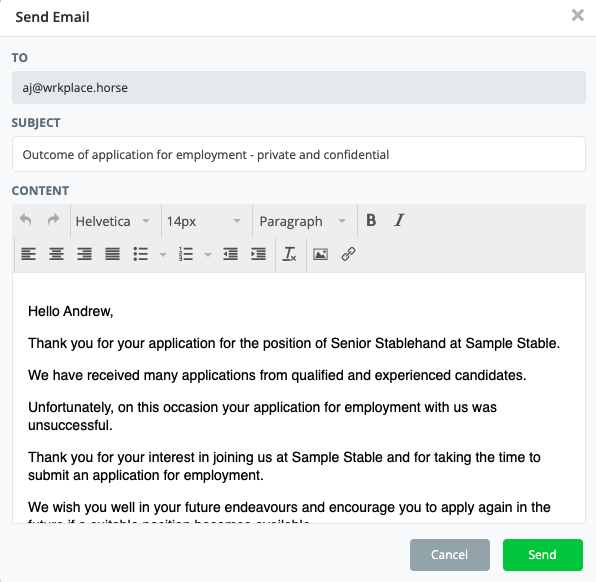
When updating the Application Stage to Unsuccessful, you can easily notify the applicant.
This is a pre-drafted email template which you can modify if you wish, prior to send the email.
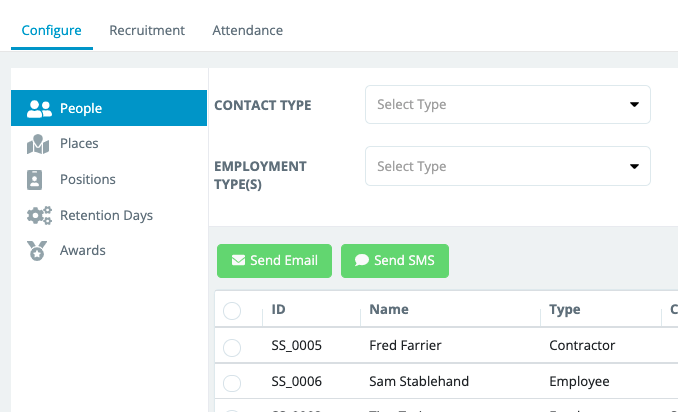
You can also share your job vacancy on social media and other job boards, or via email or text message. Start attracting applicants in minutes!
Add a job vacancy
Go to Recruitment > Jobs
Click the Add Job
Enter relevant details about the job vacancy
You must have the Position already created in Configure > Positions.
Attract applications
When adding your job vacancy, ensure you tick the ‘Post job vacancy to Wrkplace’ option for your job to be displayed on your website, and on The Straight Jobs and Wrkplace Jobs boards, for free.
Wrkplace automatically generates a Job Landing Page, complete with Application Form. Job seekers who find your job on your website, The Straight Jobs and Wrkplace Jobs can review all job details and apply online.
You can also view the Job Landing Page / Application Form by clicking the ‘eye’ icon.
Copy the URL and share on wherever you like – on social media, via email or text message, or in any job advert on any jobs site you use.
Applicants wishing to apply for a job can apply online via the application form on this Job Landing page. Applicants then appear in Wrkplace for you to review and rate. You will also receive an email alert.
❗️ Contact us to confirm the email address you would like these new applicant notifications to be sent to.
You can also advertise your job vacancy on your website. Go to the next page to learn how.
This article applies to the Wrkplace Attendance module.
You can quickly view all attendance history, filtering the data if necessary, and then export.
On occasions you will also need to edit an attendee’s history – typically their sign in or their sign out time.
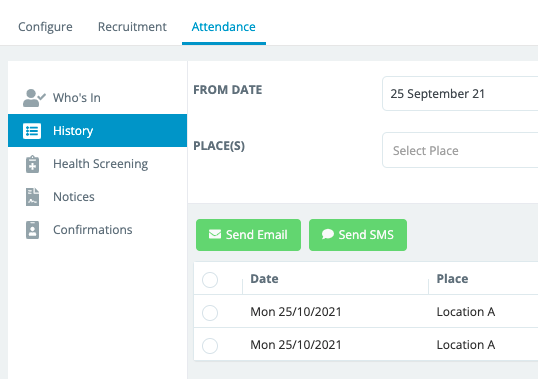
Here’s how to view attendance history
Navigate to Attendance > History
On every attendance record, click the View action icon
On each attendance history record you can view attendee details, time in and time out, answers to health screening questions and notices, and the exact location the attendee at the time of sign in/out (via Google Maps).
Note that a red flag will appear for any employee signing in or out of your workplaces, outside of the distance threshold for that workplace (if set in Places – see our guide on Adding Places).
This is also available when viewing the Attendance Details screen. Click on the eye icon to View History
Then click the button next to the GPS Coordinates shown. That will open Google Maps to show you where the sign in / out occurred.
How accurate is this GPS Location?
A smartphone’s precise GPS location can be very accurate, particularly in high-density areas like cities. However, the accuracy depends on several factors – mainly the environment, mobile signal quality, mobile phone quality/age, and whether the phone is using extra positioning aids like Wi-Fi.
Here’s a breakdown of typical accuracy levels:
Technology
Typical Accuracy
Notes
GPS alone (outdoors in a high-density environment)
±3–5 meters
Best case with clear sky view.
Assisted GPS (A-GPS)
±1–3 meters
Uses mobile + GPS + sometimes Wi-Fi to speed and refine results.
Wi-Fi positioning
±5–15 meters
Useful indoors or urban areas where GPS is weak.
Cell tower triangulation
±50–500 meters
Works when GPS / Wi-Fi unavailable – but much less precise.
Editing Attendance History
Here’s how to edit an attendance record.
Navigate to Attendance > History
Locate the attendance record you need to edit, using the filters if necessary.
Click Edit in the Actions column
Here’s how to export attendance history.
Navigate to Attendance > History
Filter attendance history as required
Click Export to PDF, Export to CSV or Export to Payroll
The Export the Payroll option exports data to a CSV file as well, but groups all attendance data by:
This article applies to the Wrkplace Attendance module.
On occasions, an attendee may not have a smart device or may have forgotten to scan a QR code to record their entry into your workplace. Or they have forgotten to sign out upon departing your workplace.
Here’s how to sign someone in at the time of entry or afterward.
Navigate to Attendance > Who’s In
Click Sign In Someone in the top right hand corner of the screen
Complete relevant details, including identifying the attendee type
If the attendee type is an Employee or Contractor, select their name from the list of authorised Employees and Contractors.
Here’s how to sign someone out at the time of departure or afterward.
Navigate to Attendance > Who’s In
Find the relevant attendance record, using the filters if required
One of our missions is to help employers hire efficiently and provide candidates a great hiring experience. Critical for attracting the best talent to your stable or farm.
The Wrkplace Recruitment module now allows employers to setup any number of document templates and then email new or existing employees for electronic completion and signature.
This article applies to the Wrkplace Attendance module.
To allow employees, contractors, visitors and delivery drivers to effortlessly sign-in and out of your workplace, print an A4 Sign-In Poster complete with QR code.
This QR code can be scanned by each attendee to your workplace, by their mobile phone camera or QR code reader.
Each Place (site) you have configured in Places is assigned a unique QR code and sign in poster.
Attendees do not have to use a QR code reader on their mobile device. Smartphones no older than 2016 (approximately) can generally scan QR codes using the camera function.
Upon scanning a QR code, the unique sign in screen displays in the attendee’s default browser on their mobile device.
Here is how to print your sign in poster for each Place you have configured.
Navigate to Configure > Places
View the QR Code sign in poster by clicking the view (eye) icon for each Place you have configured
Click Print to open your computer’s default print function.
From there you can print or (on most computer operating systems) save as a PDF for later use.
Print as many sign in posters as desired to ensure they are conveniently displayed to all attendees at all relevant entry and exit points, and any congregational areas such as an office or tack room.
You may also wish to print a helpful Sign In Instructions poster for your employees. This document includes important instructions on how employees can enable Location Services on their mobile device browser – an important security feature.