This article dives into some detail about combatting regular email deliverability issues.
Technical Level: 5 out of 5
Read time: 5 mins
Who should read this?: Any Keap user responsible for optimising Keap mailing list quality, and in particular IT members / sub-contractors.
Two common issues
Here are two common issues that stem from your domain having an uncertain email reputation.
Emails are occasionally bounced automatically
Some email services are renowned for employing over-sensitive spam filters. Bigpond and Hotmail are two email services that come to mind.
These spam filters can reject some emails from being delivered entirely, if they are unsure about your email reputation. This is obviously far worse than placing emails into spam folders.
Firstly, the recipient will never see your email – not even in their spam / junk folder.
Second, the recipient’s email address status will now be set to ‘Bounced’ in Keap – permanently – until you reactivate it.
Subscribers are occasionally unsubscribed automatically
To comply with legal requirements, all email marketing services like Keap include unsubscribe links in the footer of each message.
Some email service spam filters click all links in a message to check that the links do not contain malware, if they are not sure about your email reputation.
On occasions, spam filters even click the unsubscribe link in messages. As a result, contacts are sometimes unsubscribed without their knowledge.
How to monitor unsubscribes and bounces
Read our how to proactively manage email status issues article and watch the video. This details an important process to follow regularly, to try and catch any accidental unsubscribes or bounces from contacts.
It is a difficult process as there is no foolproof way of knowing which unsubscribes and bounces are valid and which ones are errors. Typically, review each long-time client or contact who unsubscribes.
What to do to help maximise your email reputation
The sad news is there is no fool-proof way to avoid accidental unsubscribes, temporary bounces or your emails landing in spam folders. But there are ways to significantly reduce those issues.
- Configure DKIM, SPF and DMARC
- Optimise your email content
- Configure an Email Preference Centre
- Ask your recipients to whitelist you
Configure DKIM, SPF and DMARC
There are technical actions to undertake. DKIM, SPF and DMARC are essentially records added to your domain that increases the security of your domain and increases your email reputation in many recipient email servers. This means spam filters are less likely to need to click all links to test them.
Read our article How to enable Keap outbound emails for more information.
Optimise your email content
Optimising your email content to maximise deliverability and open rates, is not an exact science. But there are certainly good practices to follow.
Read our top 10 tips to maximise open rates.
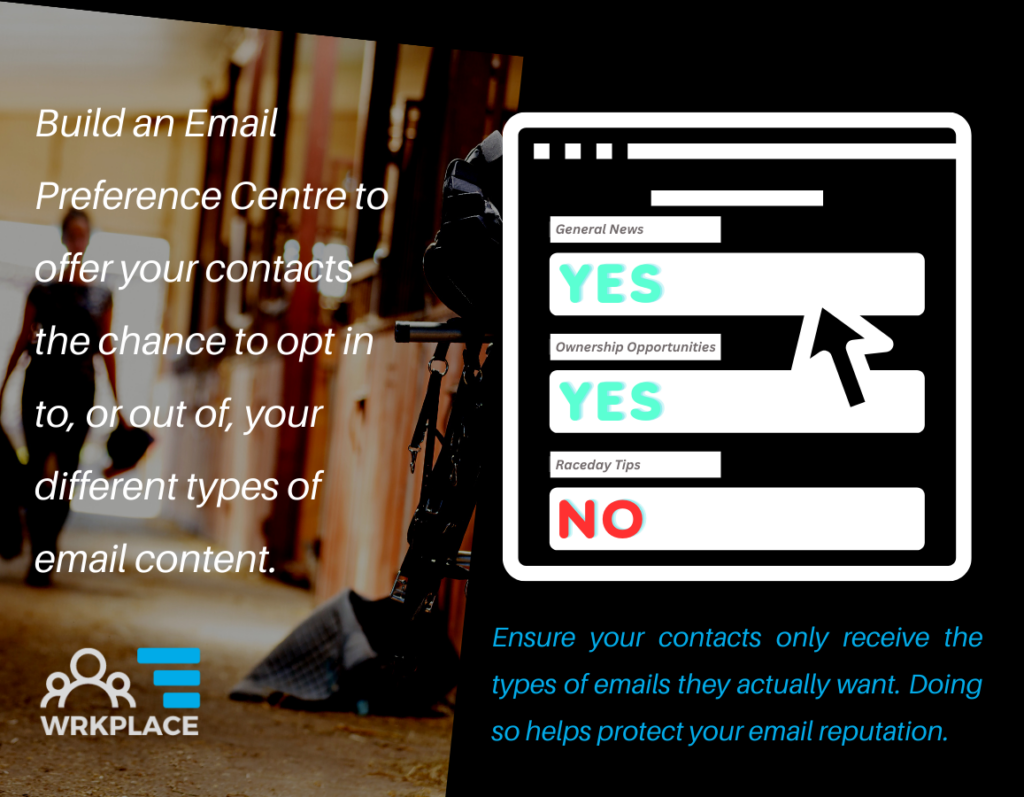
Configure an Email Preference Centre
An email preference centre is essentially a web form or landing page that allows your contacts to opt in, or out of, certain types of email content you are sending. Links to the email preference centre should be included in every email broadcast you send.
Even if contacts opt out of all content options, that very action of clicking in to update their email preferences is an ‘engagement’ with your emails, which aids your email reputation.
We can help you configure an email preference centre and detail how to share it to all recipients.
Ask subscribers to whitelist / allowlist you
Below you’ll find step-by-step instructions for your contacts to whitelist your sender email address, in the most common email clients and providers.
Yes, this is difficult to get your mailing subscribers to do. But it greatly helps if they do.
We recommend each recipient performs their own search on how to add safe senders on their email client/email host service. However, the below can provide a guide for them.
- Open the email.
- Tap the sender’s name in the From line.
- On the next screen, tap Create New Contact.
- Tap Done.
- Right-click on the email that you would like to add to your safe sender list
- Hover over Junk and then click the option Never Block Sender.
Microsoft Outlook Express
- In Outlook, go to the Tools menu.
- Click “Address Book”.
- Click New > New Contact from the drop-down menu.
- Type in email address and include any details you want.
- Click OK.
- Tap to open the email.
- Tap the icon next to the email address.
- Tap OK.
- Right-click on the sender’s email address.
- Select Add to Contacts or Add to VIPs.
- Click and drag the email into the Primary tab. Or find an email in the spam folder and mark as Not Spam
- Click Yes to confirm
- Open the email.
- Click the Add to contacts link
- Right-click the email.
- Select Add Sender to Contacts.
- Click Save.
- Login to Bigpond mail in your browser
- On the left, right under SETTINGS, click on “Mail” and then click on “Safe Senders”.
- On the Safe Senders sub-menu, please write @<yourdomain> in the blank square next to Add email address, and click on the (+) Add button.